Beef is often considered the pinnacle of the culinary world. Its deep, umami-rich flavor and satisfying texture have made it a centerpiece for celebrations, Sunday dinners, and quick weeknight meals across the globe. Whether it is a perfectly charred ribeye from a high-end steakhouse or a melt-in-your-mouth pot roast from a grandmother’s kitchen, beef offers a versatility that few other proteins can match.
However, many home cooks find beef intimidating. The price point is often higher than poultry or pork, and the variety of cuts can be overwhelming. Understanding how to navigate the butcher counter and apply the correct cooking techniques is the difference between a tough, chewy disappointment and a culinary masterpiece. This guide explores the science and art of cooking beef, providing you with the knowledge to master this premium protein.
Understanding the Anatomy: The Logic of the Cut
The most important rule in beef preparation is that the cut of meat determines the cooking method. Cattle have muscles that do a lot of work and muscles that do very little.
Tender Cuts (The Loin and Rib): Muscles along the back of the animal, such as the tenderloin, ribeye, and strip loin, do very little physical labor. These cuts are low in connective tissue and high in intramuscular fat (marbling). Because they are naturally tender, they should be cooked quickly over high, dry heat. Overcooking these cuts or simmering them in liquid will actually make them tougher and dry.
Tougher Cuts (The Chuck, Round, and Brisket): Muscles in the shoulder (chuck), legs (round), and chest (brisket) do the heavy lifting. They are lean but loaded with collagen and connective tissue. If you try to grill a piece of chuck like a steak, it will be nearly impossible to chew. However, when cooked slowly with moisture, that collagen melts into gelatin, creating the rich, “sticky” sauce and tender texture associated with great stews.
The Science of Searing: The Maillard Reaction
When you hear that “sizzling” sound as beef hits a hot pan, you are witnessing the Maillard reaction. This is a chemical reaction between amino acids and reducing sugars that gives browned food its distinctive flavor.
To achieve a professional sear, your beef must be dry. Moisture is the enemy of browning; if the surface of the meat is wet, it will steam rather than sear. Professional bloggers and chefs always recommend “tempering” the meat—letting it sit at room temperature for 30 to 45 minutes—and then patting it thoroughly dry with paper towels before it touches the heat.
Masterclass 1: The Perfect Pan-Seared Steak
You do not need an outdoor grill to make a world-class steak. A heavy cast-iron skillet is the best tool for the job because of its incredible heat retention.
- Seasoning: Use more salt than you think you need. Salt not only seasons the meat but also helps create a crust. For the best results, salt your steak 40 minutes before cooking (dry brining) to allow the salt to penetrate deep into the fibers.
- The Heat: Heat the skillet until the oil is just starting to smoke. Place the steak in the pan, pressing down slightly to ensure total contact.
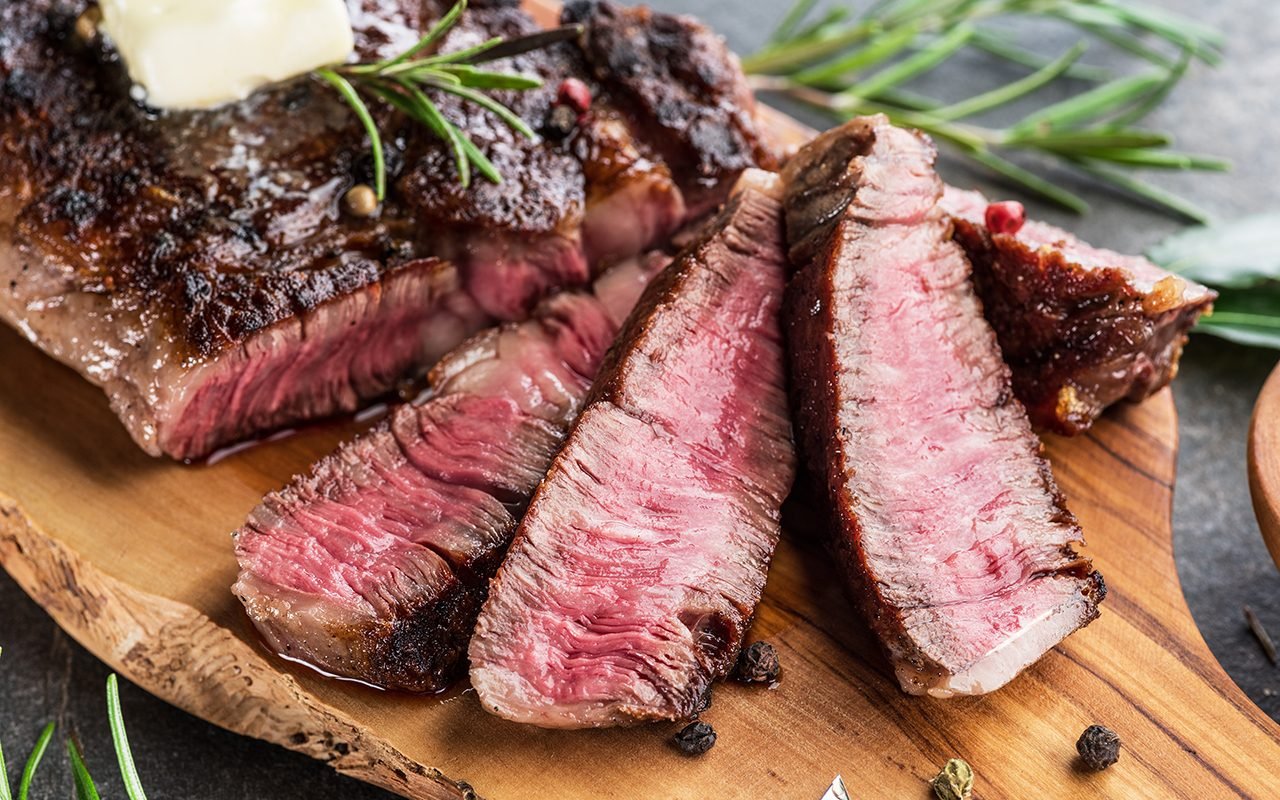
- The Butter Baste: Once you flip the steak, add a large knob of unsalted butter, three cloves of smashed garlic, and a few sprigs of fresh thyme or rosemary. Tilt the pan and spoon the foaming, aromatic butter over the steak repeatedly. This adds a layer of nutty flavor and ensures the meat stays moist.
- The Temperature: Use an instant-read thermometer. For medium-rare, aim for 130°F to 135°F. Remember that the temperature will rise about 5 degrees while the meat rests.
Masterclass 2: Low and Slow Braising
Braising is the process of searing meat at a high temperature and then finishing it in a covered pot with a small amount of liquid at a low temperature for a long time. This is the secret to perfect Beef Bourguignon or a classic Pot Roast.
- The Sear: Even for stews, you must sear the meat first. This develops the “fond”—the brown bits at the bottom of the pot that provide the foundation for the sauce.
- The Aromatics: Sauté onions, carrots, and celery (the mirepoix) in the leftover fat. Add tomato paste and cook it until it turns a deep rust color to intensify the flavor.
- Deglazing: Pour in a liquid—usually red wine or a high-quality beef stock—and scrape the bottom of the pot to release all that flavor.
- The Simmer: Return the meat to the pot, but do not submerge it. The liquid should come about halfway up the meat. Cover and place in a low oven (about 300°F) for 3 to 4 hours until the meat pulls apart with a fork.
Common Pitfalls to Avoid
- Cutting Too Early: This is the “golden rule” of beef. You must let your meat rest. For a steak, 5 to 10 minutes; for a large roast, 20 minutes. Resting allows the muscle fibers to relax and reabsorb the juices. If you cut it immediately, the juices will run out, leaving the meat dry.
- Overcrowding the Pan: If you are browning cubes of beef for a stew, do it in batches. If the pan is too full, the temperature drops, the meat releases its juices, and it boils in its own liquid rather than browning.
- Ignoring the Grain: When slicing beef (especially cuts like flank or skirt steak), always look for the direction of the muscle fibers. Slice perpendicular to these fibers (against the grain). This shortens the fibers, making every bite significantly more tender.
Conclusion
Mastering beef is about respecting the animal and the heat. By choosing the right cut for your intended dish and understanding the difference between a high-heat sear and a low-heat braise, you can achieve restaurant-quality results in your own kitchen. Beef is a rewarding protein that offers endless opportunities for culinary exploration. Whether you are perfecting a simple burger or tackling a complex beef short rib, the principles of dryness, temperature control, and patience remain the same.