The pursuit of the perfect cheesecake is often described as a culinary pilgrimage. It is a dessert that stands as the crown jewel of the pastry world, balancing a rich, velvety texture with a delicate tang and a buttery, crisp foundation. While the ingredients are deceptively simple—cream cheese, sugar, eggs, and a crust—the process of bringing them together requires a blend of precision, science, and a great deal of patience.
For many home bakers, the fear of the dreaded “surface crack” or a rubbery texture keeps them from attempting this classic. However, once you understand the fundamental principles of cheesecake chemistry, you can transition from a casual baker to a master of the craft. This guide will walk you through the essential components and techniques to create a show-stopping, professional-grade cheesecake.
The Foundation: Crafting the Perfect Crust
Every great cheesecake begins with its base. While the traditional Graham cracker crust is a beloved staple, the crust offers your first opportunity for customization. The goal of the crust is to provide a structural contrast to the creamy filling.
To create a standard crust, you need finely ground crumbs and melted butter. The butter acts as the glue, while a small amount of sugar helps the base caramelize and set.
- The Classic: Graham crackers with a pinch of cinnamon.
- The Elevated: Digestive biscuits for a more buttery, less sweet profile.
- The Decadent: Chocolate sandwich cookies (like Oreos) with the cream removed before crushing.
- The Modern: Speculoos or Biscoff cookies for a deep, spiced ginger flavor.
Pro Tip: Always pre-bake your crust for about 8 to 10 minutes at 325°F (160°C). This ensures the crust stays crisp and doesn’t become soggy once the heavy filling is added. Let it cool completely before pouring in the batter.
The Heart of the Matter: The Filling Ingredients
The secret to a smooth, lump-free cheesecake lies not in the mixing speed, but in the temperature of your ingredients. This is the single most important rule in cheesecake baking.
- Cream Cheese: Use full-fat, brick-style cream cheese. Low-fat or spreadable versions contain more water and air, which will ruin the density. It must be at room temperature to incorporate smoothly with the sugar.
- Sugar: Granulated sugar is standard, but some bakers prefer ultra-fine sugar for a more seamless dissolution.
- Eggs: Eggs provide the structure. Like the cheese, they must be at room temperature. Cold eggs will cause the cream cheese to seize, creating a lumpy batter.
- The Brighteners: A splash of high-quality vanilla extract and a teaspoon of fresh lemon juice are essential. They don’t make the cake taste like lemon; rather, they cut through the heavy fat of the cheese to brighten the overall flavor profile.
The Technique: Mixing and the Water Bath
When mixing your batter, the objective is to create a homogenous mixture without incorporating excess air. Air bubbles are the primary cause of cracks; as the air expands in the heat and then escapes, the surface of the cake splits. Use a low speed on your mixer and stop as soon as the eggs are just incorporated.
The Bain-Marie (Water Bath)
If you want a professional result, a water bath is non-negotiable. By placing your springform pan inside a larger roasting pan filled with an inch of hot water, you create a humid environment. The water insulates the cake, ensuring the edges don’t cook faster than the center and keeping the temperature constant.
How to Waterproof: Since springform pans are notorious for leaking, wrap the bottom and sides of the pan in three layers of heavy-duty aluminum foil. For extra security, some bakers place the springform pan inside a silicone cake protector or a slightly larger solid round pan before placing it in the water.
The Baking and Cooling Process
Patience is the most difficult ingredient in any cheesecake recipe. Most cheesecakes should be baked at a relatively low temperature, typically around 300°F to 325°F.
You know the cake is done when the edges are set and slightly puffed, but the center (about 2 to 3 inches) still has a noticeable jiggle—like firm gelatin—when you gently shake the pan. It will continue to set as it cools.
The Cooling Method:
To prevent the cake from pulling away from the sides too quickly and cracking, use the “gradual cool” method:
- Turn off the oven when the cake is done.
- Crack the oven door open slightly (you can use a wooden spoon to prop it).
- Leave the cheesecake inside the oven for one hour.
- Remove it and let it cool completely on the counter before moving it to the refrigerator.
The Final Step: Chilling and Serving
A cheesecake is not ready when it comes out of the oven. It requires at least 6 hours, and ideally 24 hours, in the refrigerator. During this time, the fats solidify, and the flavors develop their full complexity.
When you are ready to serve, use a thin knife dipped in hot water and wiped dry to slice the cake. Repeat the dipping and wiping for every single slice to ensure clean, professional edges.
Conclusion
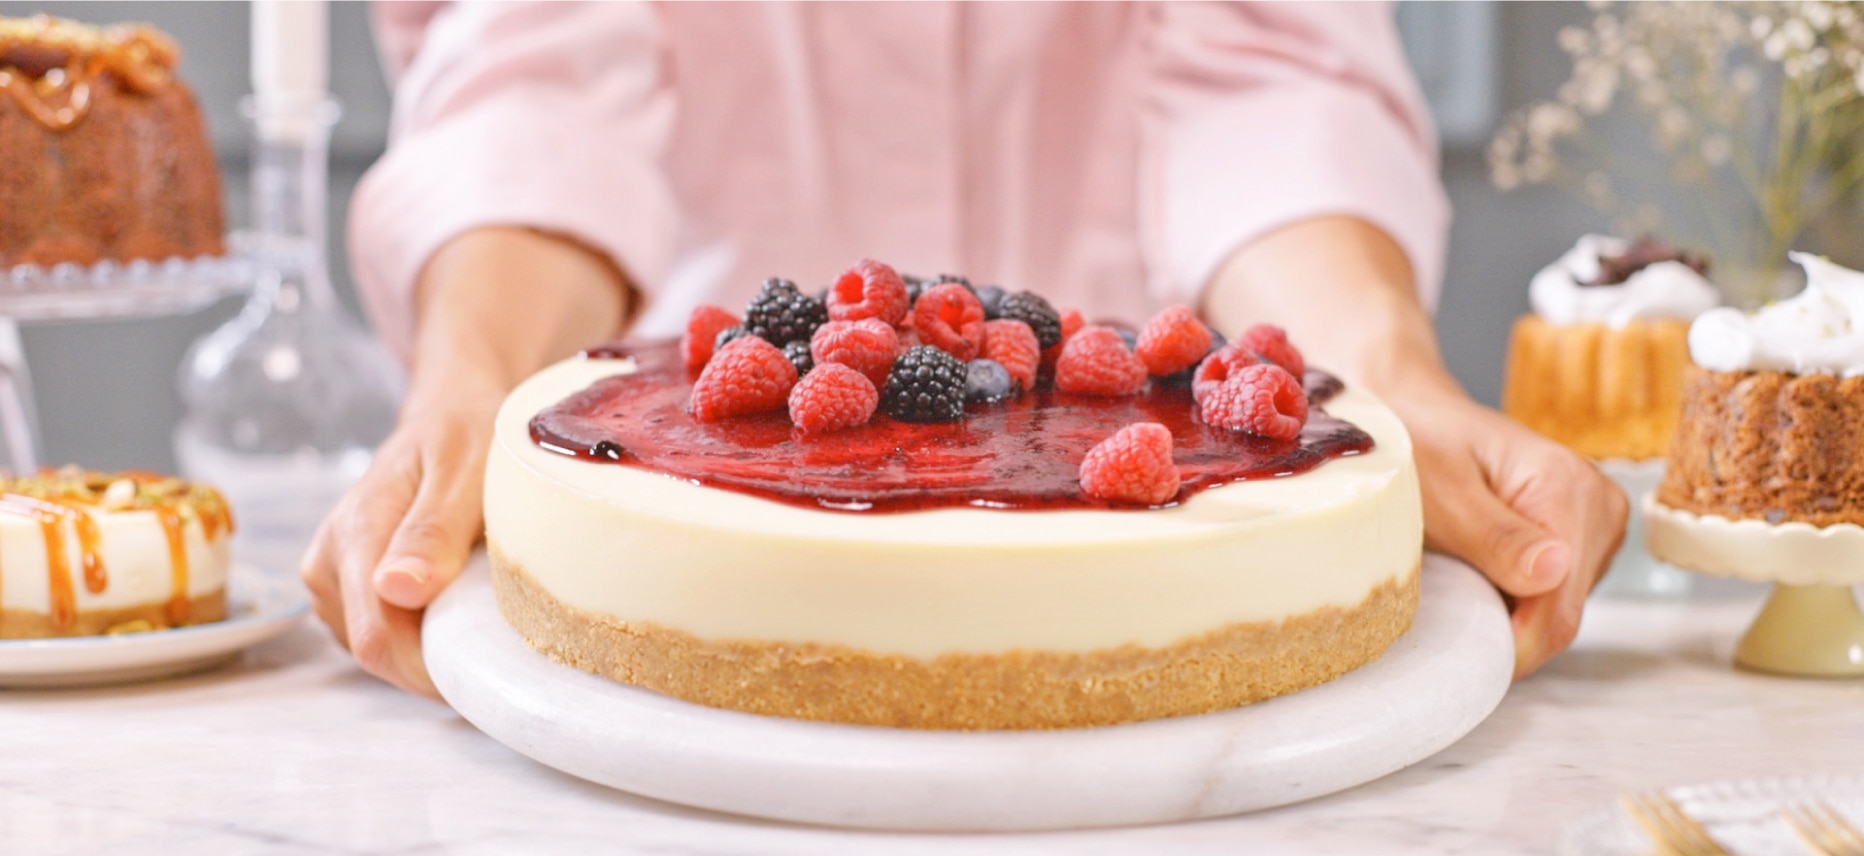
Mastering the cheesecake is a rite of passage for many bakers. It is a lesson in the importance of temperature, the utility of a water bath, and the necessity of patience. While the process may seem long, the result—a dense, creamy, and elegant dessert—is well worth the effort. Whether you top it with a simple fruit compote, a drizzle of salted caramel, or enjoy it in its pure, unadorned state, a well-made cheesecake remains one of the most satisfying achievements in the culinary arts.